How to hide the System Reserved partition From File Explorer
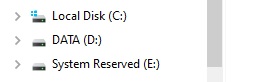
In case you are seeing a ‘System Reserved’ partition from the Windows File Explorer, which should not be used to store your personal data, the steps below will explain how to hide it.
(Works for Windows Vista, Windows 7, Windows 8 and Windows 10)
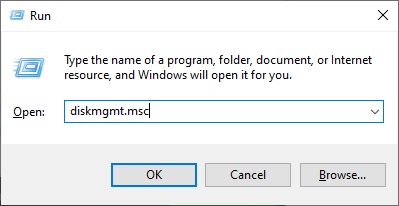
First open the Disk Management tool, press the Windows + R keys together to open the Run box type ‘diskmgmt.msc’ and hit Enter.
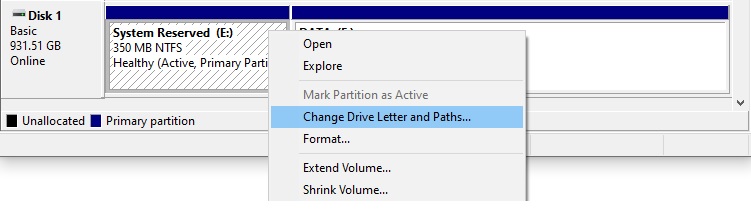
Right click on the ‘Reserved Partition’ and click on ‘Change Drive Letter and Paths…’
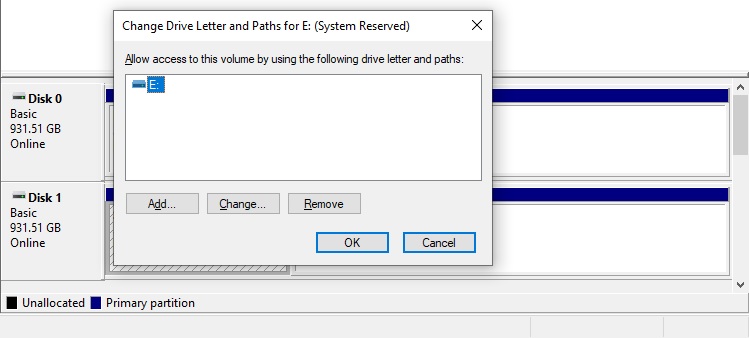
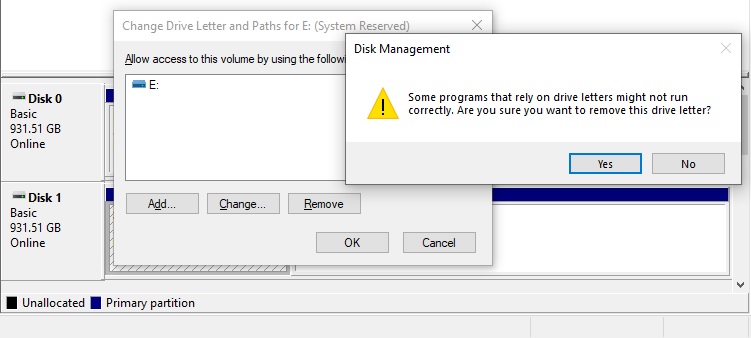
Click on ‘Remove’
A warning message appears, don’t panic, we are only removing the drive letter, go ahead and click ‘Yes’.
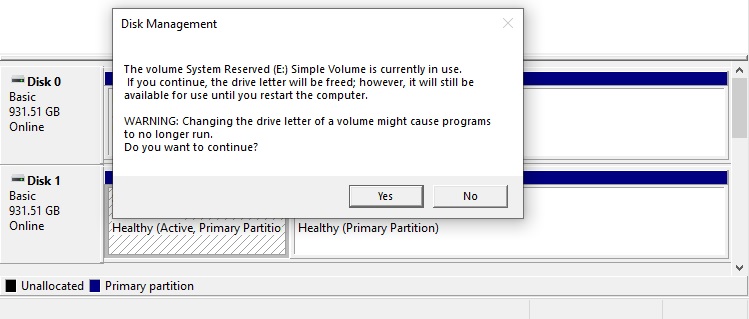
Another message appears, click ‘Yes’.
Now the letter previously assigned to the ‘System Reserved’ partition has disappeared and the partition does not appear anymore in the File Explorer.
We use cookies to ensure that we give you the best experience on our website. If you continue to use this site we will assume that you are happy with it.OkNo