Installing ESXi 6.5 on HP Proliant MicroServer Gen 8
In this article, we willgo throught the installation of VMware ESXi on a HP Proliant MicroServer Gen 8.
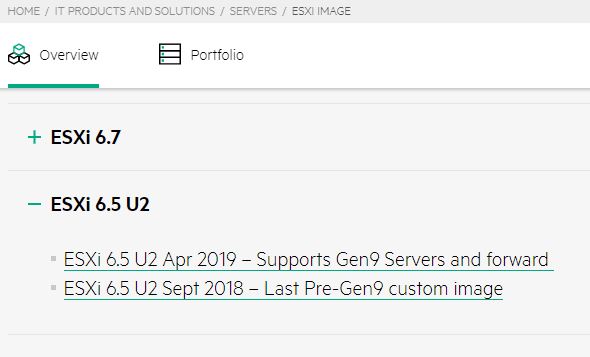
- First go to https://www.hpe.com/us/en/servers/hpe-esxi.html
Select ‘ESXi Setp 2018 – Last Pre-Gen9 custom image’
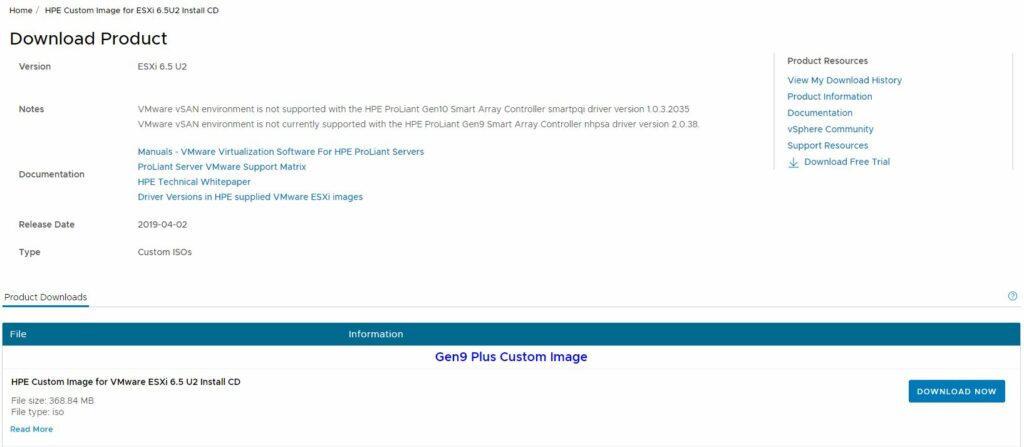
You will be redirected to the VMware download page. Select the image, click ‘Download Now’.
You can check the compatible version from the following link : https://techlibrary.hpe.com/us/en/enterprise/servers/supportmatrix/vmware.aspx
If you are not logged-in, it will redirect you the VMware login page. Login or create an account, to do so, click on ‘Sign up now’.

Go back to the ‘Download Product’ page and download the HPE Custom Image for VMware ESXi 6.5 U2 Install CD.
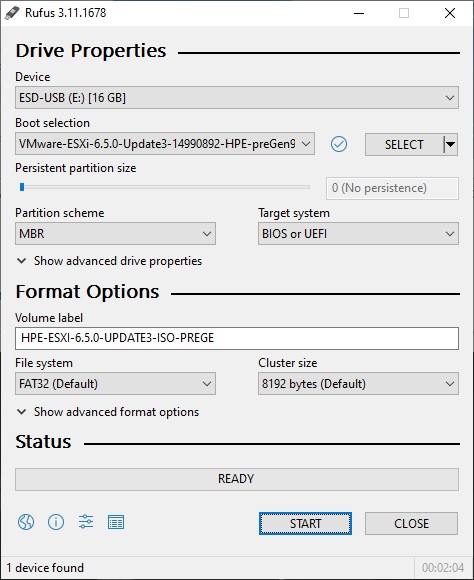
Once downloaded, use a tool like Rufus to flash the downloaded .iso image to a USB key.
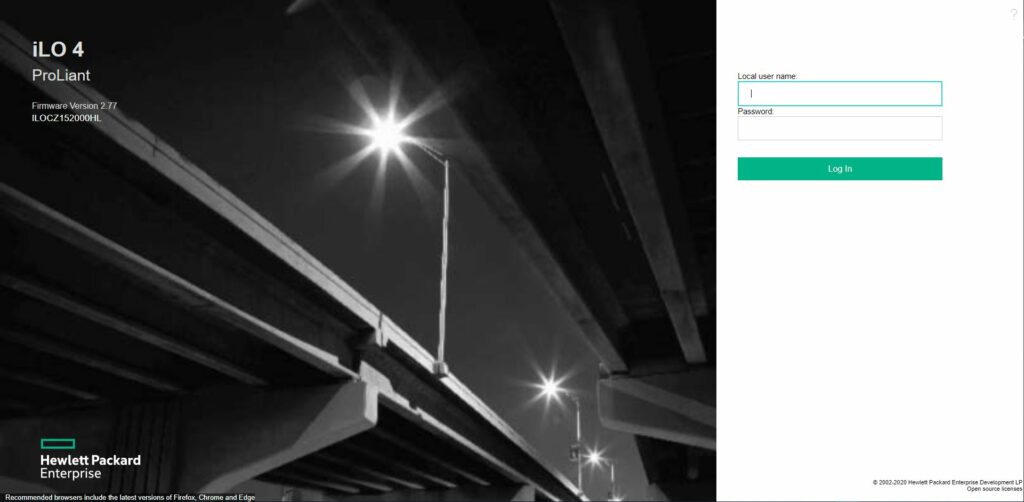
Login to the iLO server management platform.
To find the iLO login page, you can scan your network with an ip scanner like Advanced ip scanner. Type the ip address of the server into your web browser and log-in to the iLO management platform.
Go to ‘Remote Management’ / ‘Remote Console’ and click ‘Web Start’ under ‘Java Integrated Remote Console’.
Make sure Java is installed on your computer.

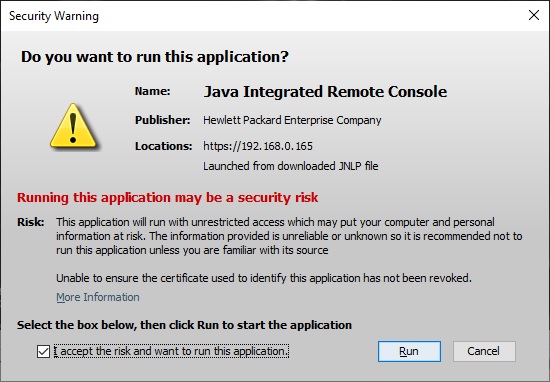
This will download a ‘iLO-jirc.jnlp file to your computer, run it, accept the Java warning, check ‘I accept the risk and want to run this application’ and click ‘Run’.
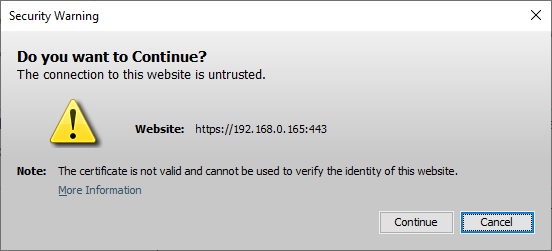
Click ‘Continue’.
Boot your server.
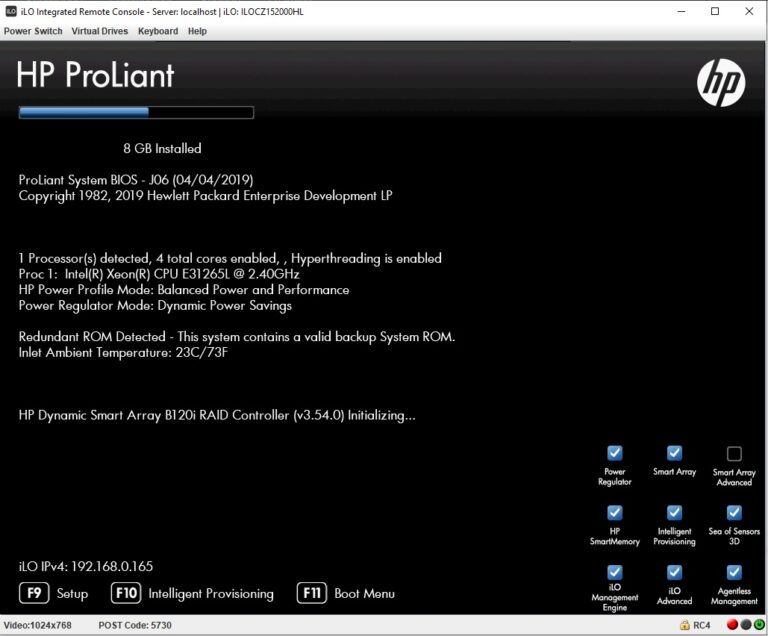
The server is waiting for a boot device.

Insert the USB Key and wait for the automatic boot to start.

The ESXi installation will start.
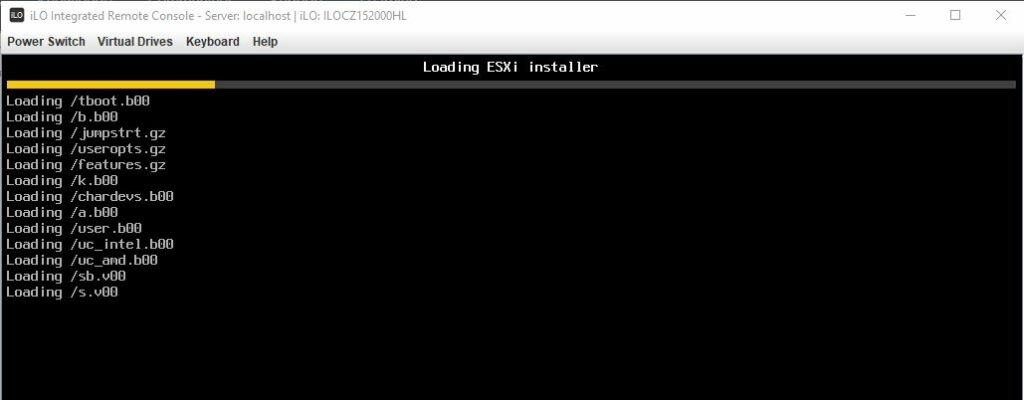
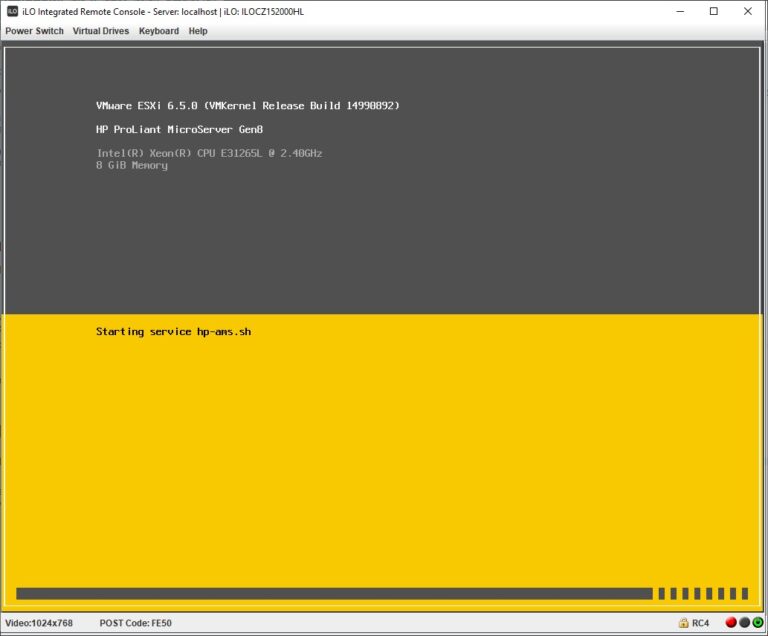
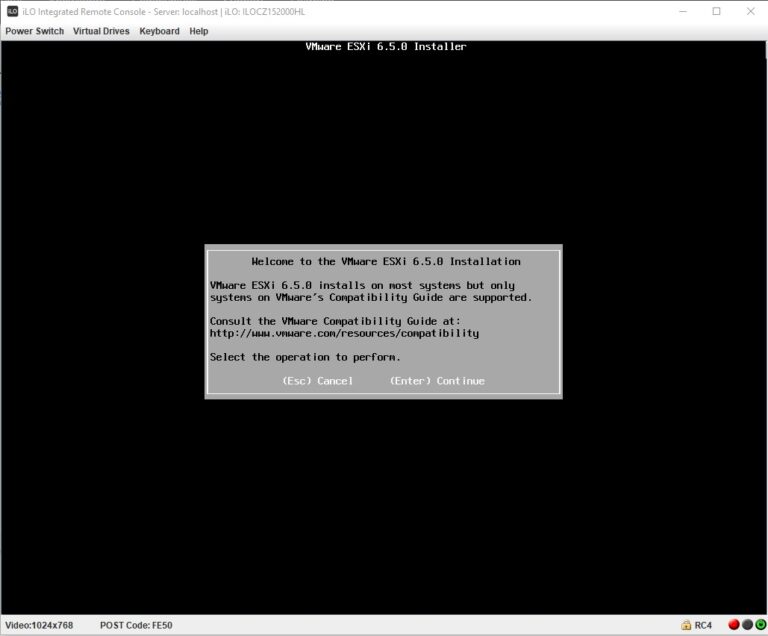
Press ‘Enter’ to continue the installation.
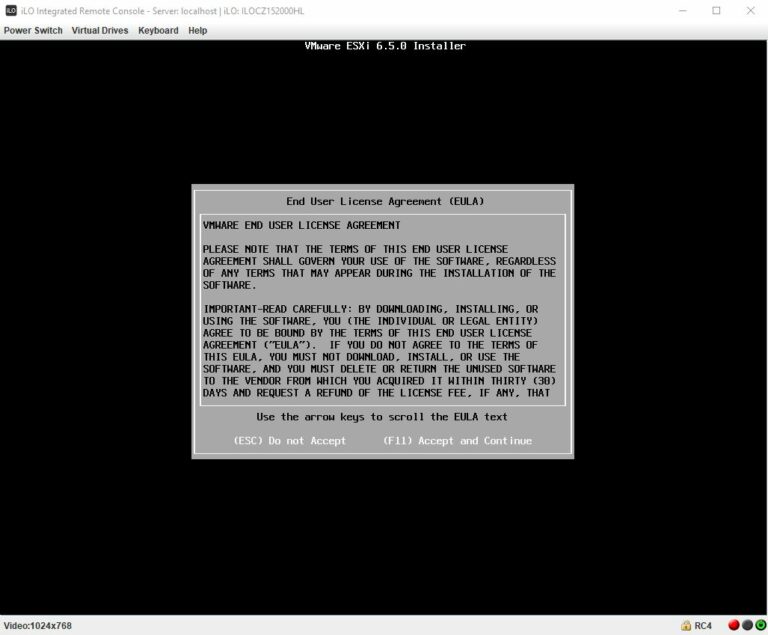
Press ‘F11’ to accept and continue.

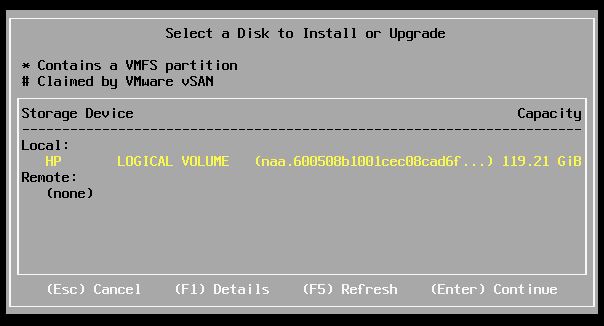
Press ‘Enter’ to select the disk.
Select a keyboard layout.

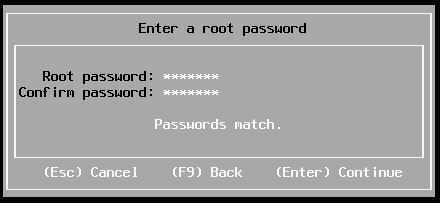
Create a password with at least 7 characters then press ‘Enter’.
Press ‘F11’ to confirm the installation.

Installation in progress.

Installation is now complete, press enter to reboot.

Remove the USB Key, the server will now reboot.
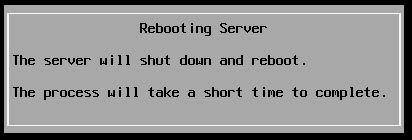
The server will now boot into ESXi.