Configuring and securing a Cisco router
The following tutorial was made using Cisco Packet Tracer. Cisco Packet Tracer is a free networking simulation tool downloadable from the following link after creating an account.
https://www.netacad.com/courses/packet-tracer
Considering the following topology, composed of a computer PC0 and two routers R1 and R2.
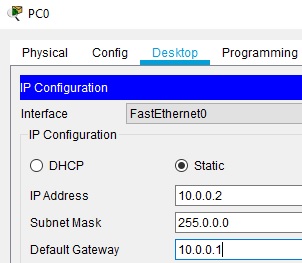
We need to start by configuring PC0.
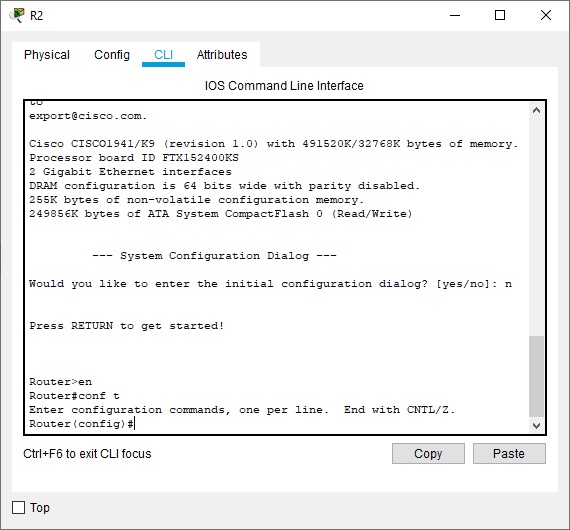
Then we need to configure the router R2. From the ‘CLI’ tab hit ‘Enter’. Then type ‘en’ or ‘enable’ to activate the router then ‘conf t’ to enter configuration mode.
In order to change the name of the router, type ‘hostname R2’.
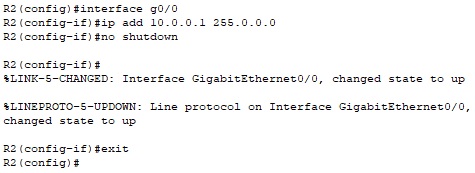
Then we will configure the interface ‘Gig0/0’ using the following commnds:
R2 (config)# interface g0/0
R2 (config-if)#ip add 10.0.0.1 255.0.0.0
R2 (config-if)#no shutdown
R2 (config-if)#exit
Configuring interface Gig0/1:
R2 (config)# interface g0/1
R2 (config-if)#ip add 11.0.0.1 255.0.0.0
R2 (config-if)#no shutdown
R2 (config-if)#exit
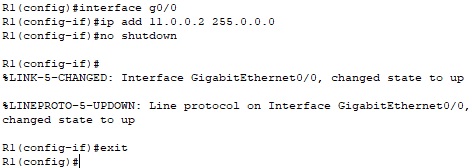
Next we will configure interface G0/0 on router R1.
R1 (config)# interface g0/0
R1 (config-if)#ip add 11.0.0.2 255.0.0.0
R1 (config-if)#no shutdown
R1 (config-if)#exit
We can see that the interfaces are now active.
Next we will configure a static route on R1 in order to communicate with PC0.
R1(config)# ip route 10.0.0.0 255.0.0.0 g0/0
We can test the connection with a ping:
R1#PING 10.0.0.2
As the ping is succesful we will now configure the minimal length of passwords for the routers at 10 characters.
R1(config)#Security passwords min-length 10
R1(config)#enable password 1234567890
R2(config)#Security passwords min-length 10
R2(config)#enable password 1234567890
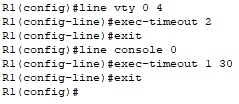
Next we will configure the closing of the VTY line after two minutes of inactivity and the closing of the console line after one minute and thirty seconds of inactivity.
R1(config)# line vty 0 4
R1(config-line)# exec-timeout 2
R1(config-line)# exit
R1(config)# line console 0
R1(config-line)#exec-timeout 1 30
R1(config-line)# exit
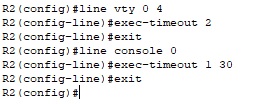
We use the same commands on router R2.
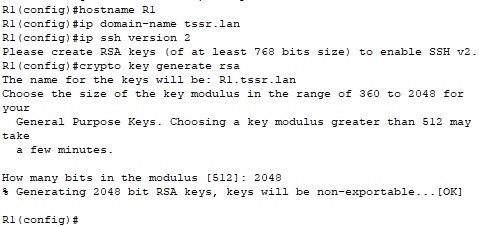
We will now configure an SSH access on both routers, using SSH version 2, a domain name and a RSA key length of 2048 bits.
Here we create an SSH user.
R1(config)#username user1 password 1234567890
We apply SSH on on the VTY line.
R1(config)#line vty 0 4
R1(config-line)#transport input ssh
R1(config-line)#login local
R1(config-line)#exit
The same configuration is applied on router R2.
We configure the router R2 in order to be blocked during 30 seconds if two SSH login attemps failed under at least ten seconds.
R2(config)#login block-for 30 attempts 2 within 10
login on-failure
login on-success
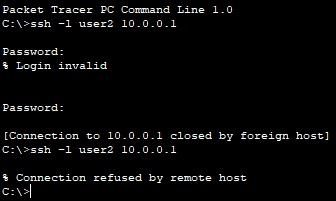
We can test from PC0:
From R2 we can see the failed login attempts:
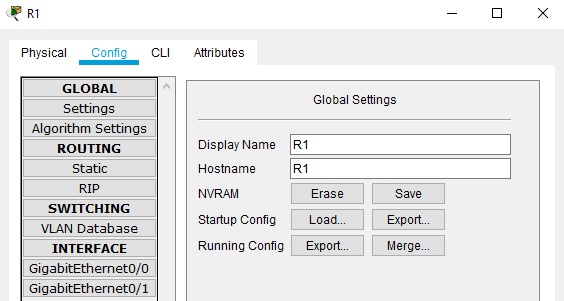
Always make sure to save your changes on the router once in a while from the ‘Config tab’, click ‘Save’.
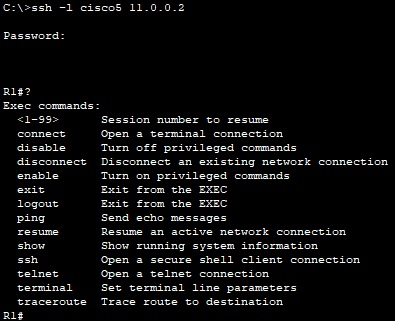
On router R1 we create a user named ‘cisco5’ we a level 5 of privilege, then we connect with SSH from PC0.
R1(config)#username cisco5 privilege 5 password 1234567890
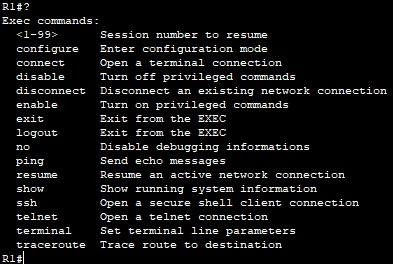
From PC0 we can see the available commands for R1.
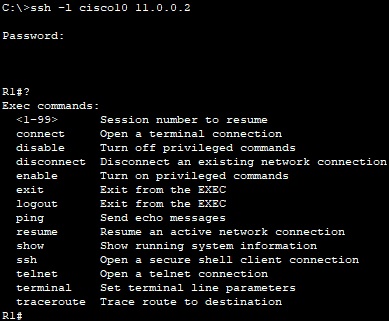
We will now create a user ‘cisco10’ withe a privilege level of 10, from PC0 we can see the following:
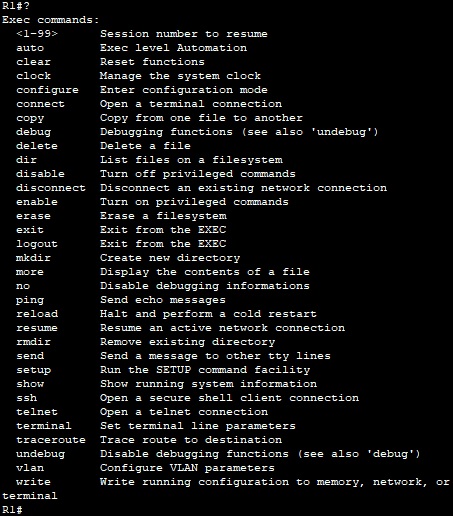
On R1 we create a user ‘cisco15’ with a privilege level of 15, we can see that there is a greater number of available commands from PC0.
We customize level 10 by adding the global configuration command:
R1(config)#privilege exec level 10 configure terminal
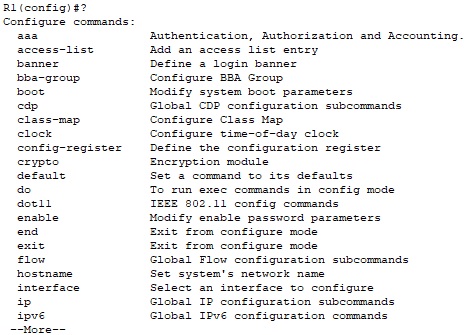
From PC0, we can see that user cisco5 has no access when executing ‘conf t’ command, but user ‘cisco10’ we can see the available commands:
R1(config)#privilege exec level 10 configure terminal
R1(config)#privilege router level 10 network
R1 (config) #privilege configure level 10 router rip
FromPC0:
R1 (config) #router rip
R1 (config-router) #network 11.0.0.0
R1 (config-router) #exit
We create a user ‘cisco11’ with a privilege level of 11:
R1(config)#username cisco11 privilege 11 password 1234567890
Available commands for this user:

